how to finish an embroidery hoop for hanging
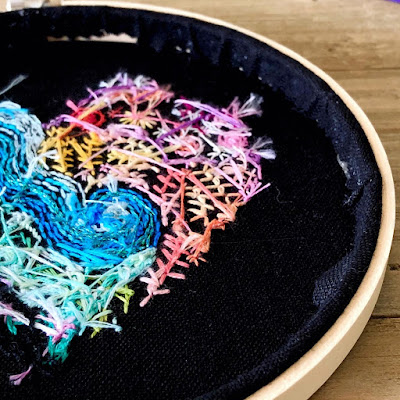
This morning I finished my hoop ready for hanging on my gallery wall and I thought I'd share how I usually do that.


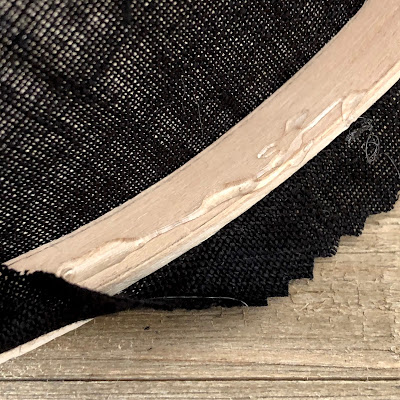


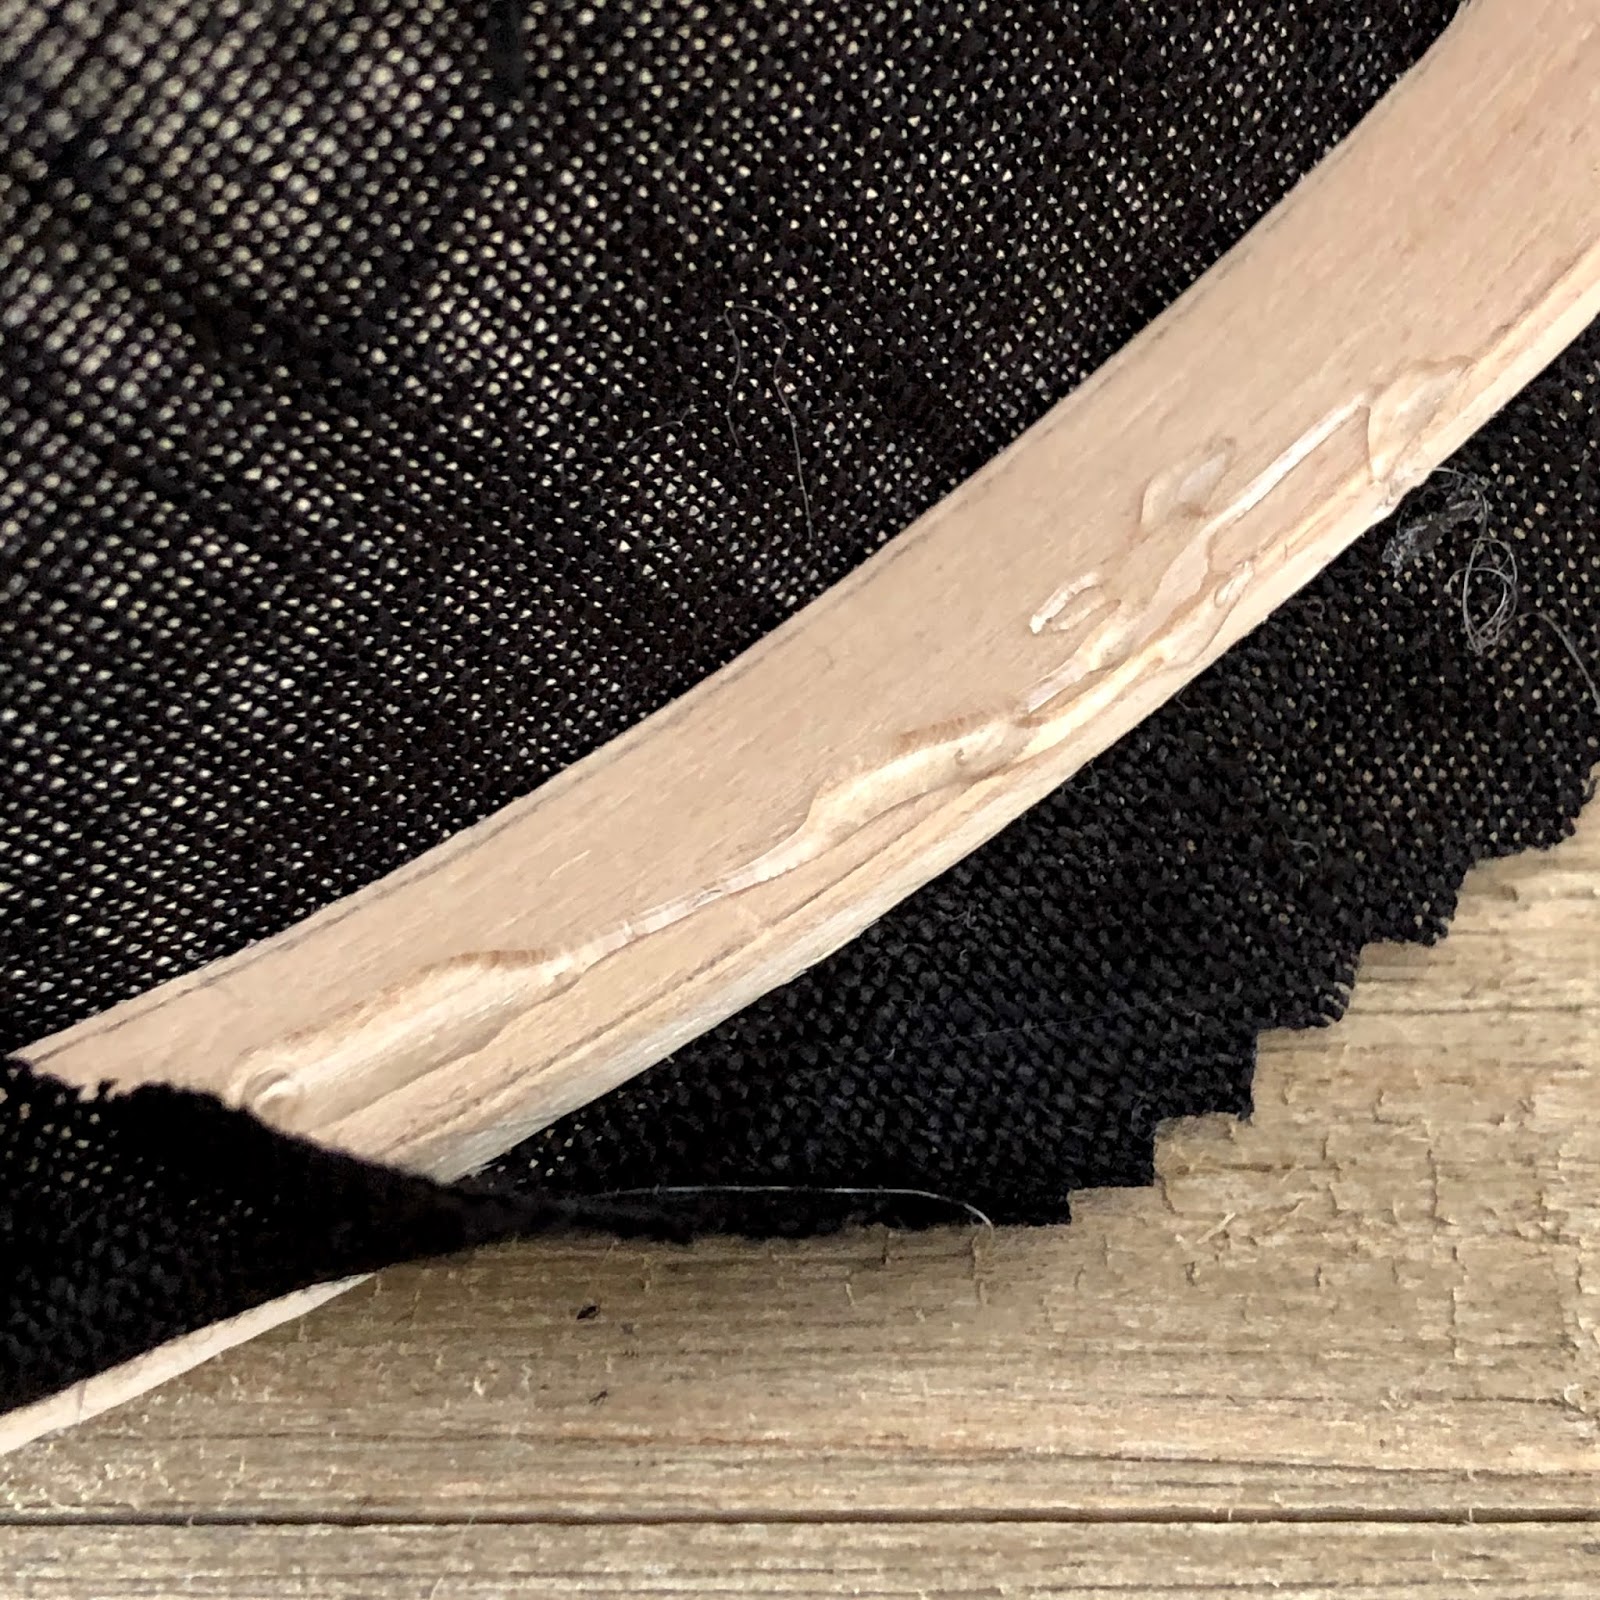
I remove the linen from the hoop I use for actually doing the embroidery. I use that purple plastic one as it is really sturdy and holds the fabric really taut. The wood hoop is the same size so I simply placed the linen in the wooden hoop and tightened it up, making sure the heart was centered and the clamp was at the top because I use that to tie the ribbon or twine to for hanging. The next step is to trim the linen and glue it to the inside of the wooden hoop as shown. Don't use gobs of hot glue and be careful as it's hot and you'll be pressing the fabric into the glue with your fingers. I recently found a hot glue gun on Amazon that causes less of those crazy strings and doesn't drip when it's resting, I think it was just called a "no drip" hot glue gun - it was a couple of dollars more than a regular one but I'm very happy with it.


I gave this a good going over with a sticky roller - I have a white cat!

The next step is to cut a felt circle to fit the back of the hoop. Some people like to glue this in to cover the back of the embroidery. I like to stitch mine as shown in the photos. It's not hard, just a bit fiddly around where the hoop clamp is. I just like how it looks when it is stitched.


I've hung my hoop on my gallery wall. I totally meant to add the date on the back but forgot so I may embroider a little label and add that, not that I'm likely to forget March 2020!


Comments
Post a Comment
Comments are moderated to filter out the irritating spammy stuff.